You will start at the API credentials manager:
https://console.developers.google.com/projectselector/apis/credentials

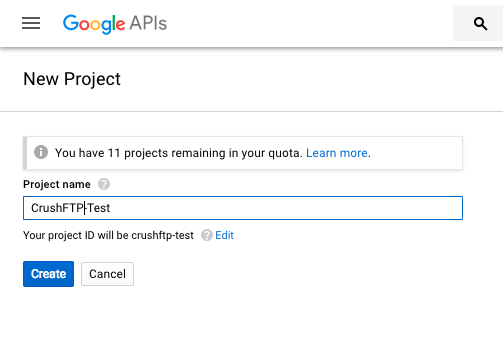
You first need to make a project. My example calls this CrushFTP-Test.
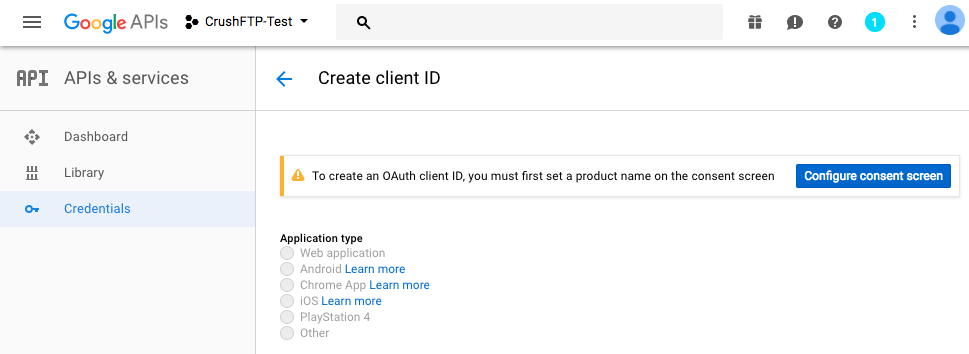
Next select create credentials, and choose the Web Application type.

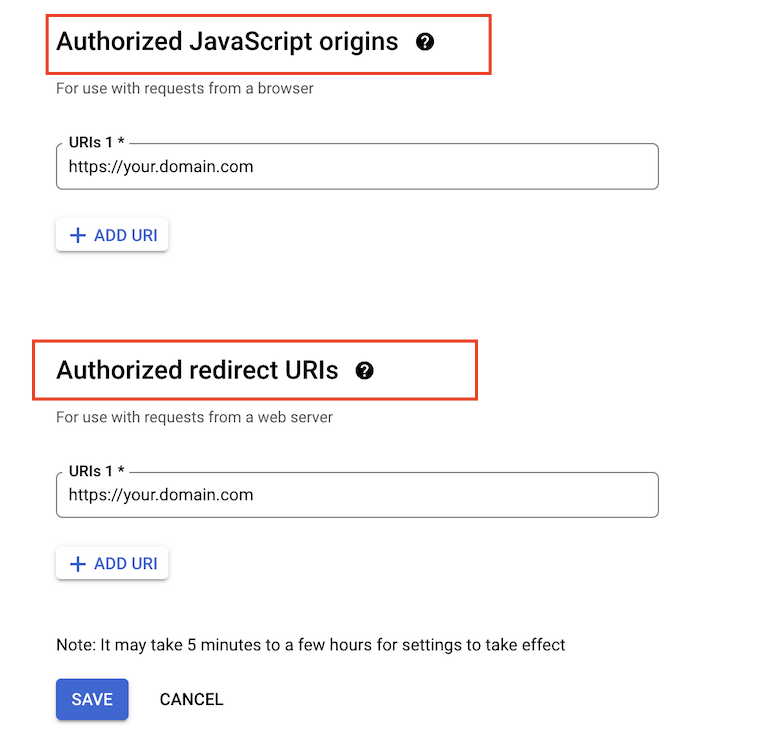
Configure the Authorized JavaScript origins. Like protocol://dns_or_ip:port. Without a trailing slash or it will complain.
Provide the Redirect URL too. The location where Google sends back the Id token (Id Token : That will be used for the authentication of the google user).
Copy the Client ID that will be required to integrate the Google Sing-In Button.
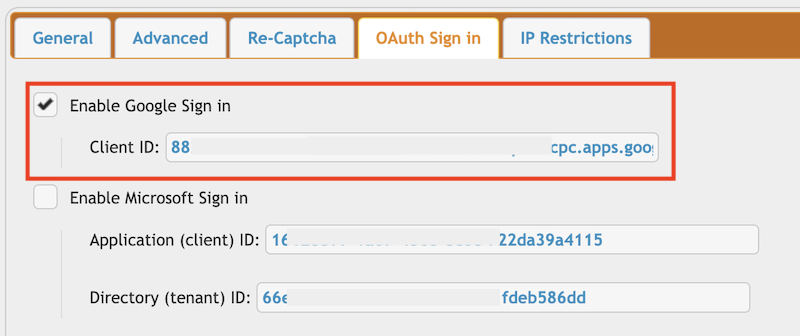
Integrate Google Sign-In button
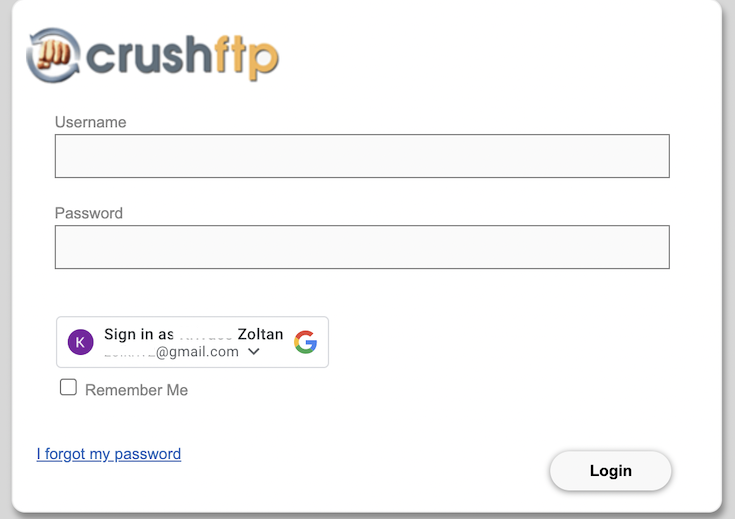
Go to the Preferences-> Ip/Servers and select the HTTP or HTTPS port item(OAuth Sign in Tab) where you want to enable the Google Sing-In button. Check the "Enable Google Sign in" flag and provide the Client ID of you Google project(mentioned above).
Continue on: CrushOAuth
Add new attachment
Only authorized users are allowed to upload new attachments.
«
This particular version was published on 27-Jun-2023 03:24 by krivacsz.
G’day (anonymous guest)
Log in
CrushFTP10 | What's New
- WebInterface
- Server Admin
- User Manager
- Client Apps
- CrushBalance Load Balancer
- High Availability
- Self Registration
- Preferences
- Email Templates
- Restrictions
- Replication
- Banning
- Logging
- Encryption
- Alerts
- Folder Monitor
- Tunnels
- Syncs
- User Config
- Search Config
- Preview
- Misc
- Plugins
- FAQ
- API
- Linux Install
- Virtual Linux Server
- Server Variables
- Google Authenticator and Microsoft Authenticator
JSPWiki