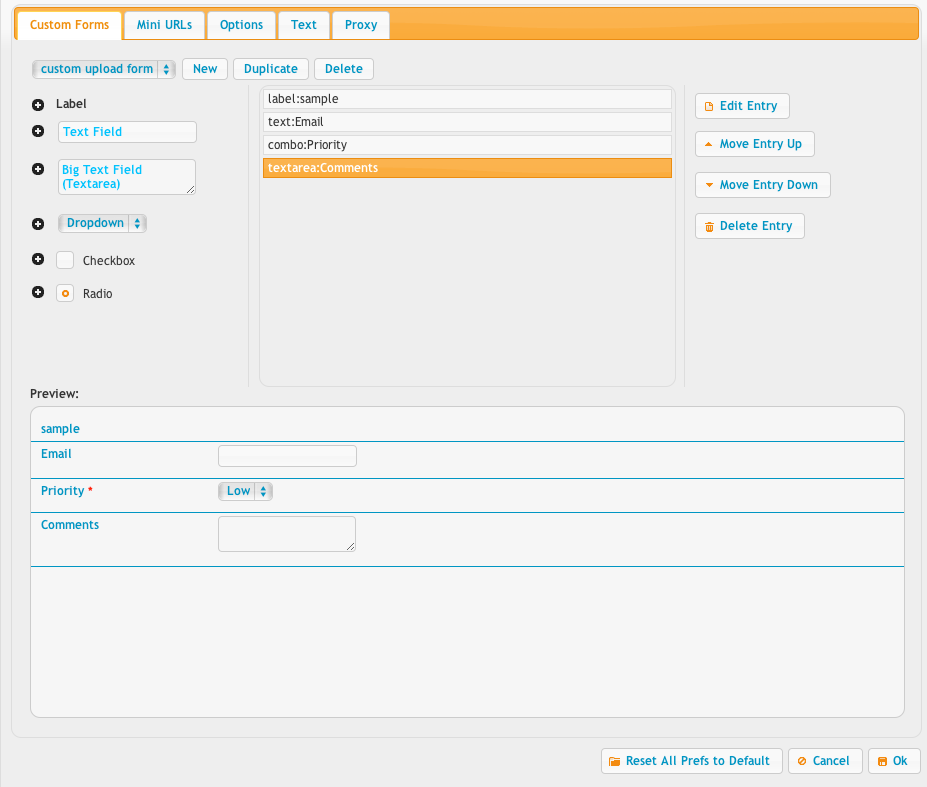
This allows you to customize some server wide settings about the WebInterface. This is where you create login message forms, and custom upload forms that can require users to send additional information with their file uploads.
A custom form can be created by clicking the "New" button. Then choose your form in the drop down menu. Click the plus signs on the left side to add new entries to the form, then fill in the information as you are prompted for it. Once an entry is created you can go back and edit it, or change its order in the list with the buttons on the right.

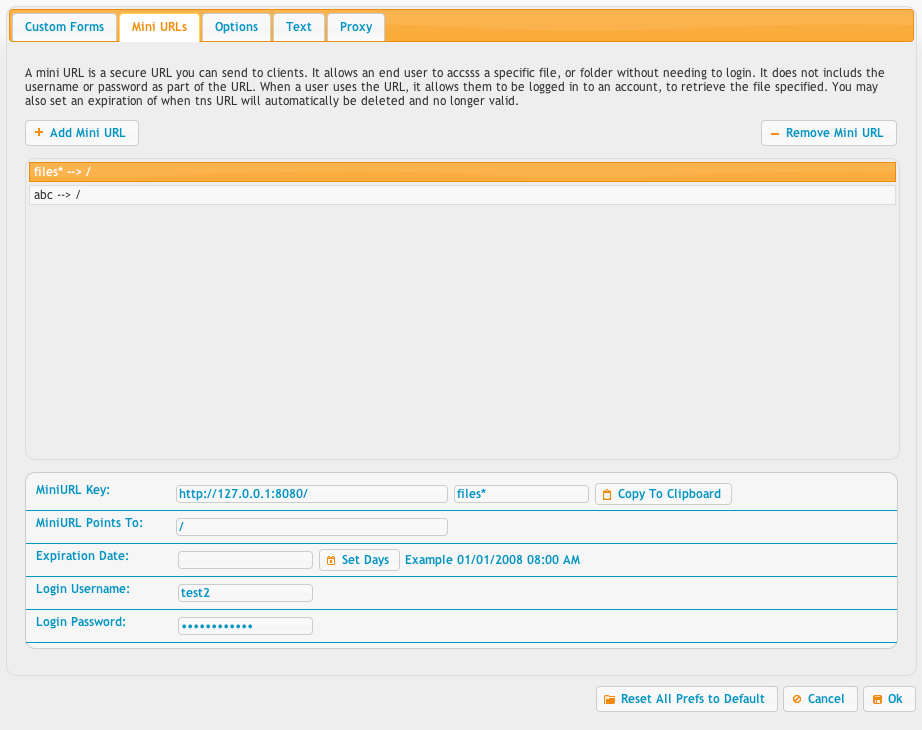
MiniURLs allow you to make abbreviated URLs that will automatically log a user in and put them into a specific folder. This can be useful to get a shorter URL, or to not give out a password.

You can also do an auto login URL. In the example, the username is "demo" and the password is "demo". The w=5 specifies CrushFTP 5 WebInterface and not the CrushFTP 4 HTML interface. Finally the path=/demo/ indicates to start the user in the /demo/ folder.
https://www.crushftp.com/?u=demo&p=demo&w=5&path=/demo/
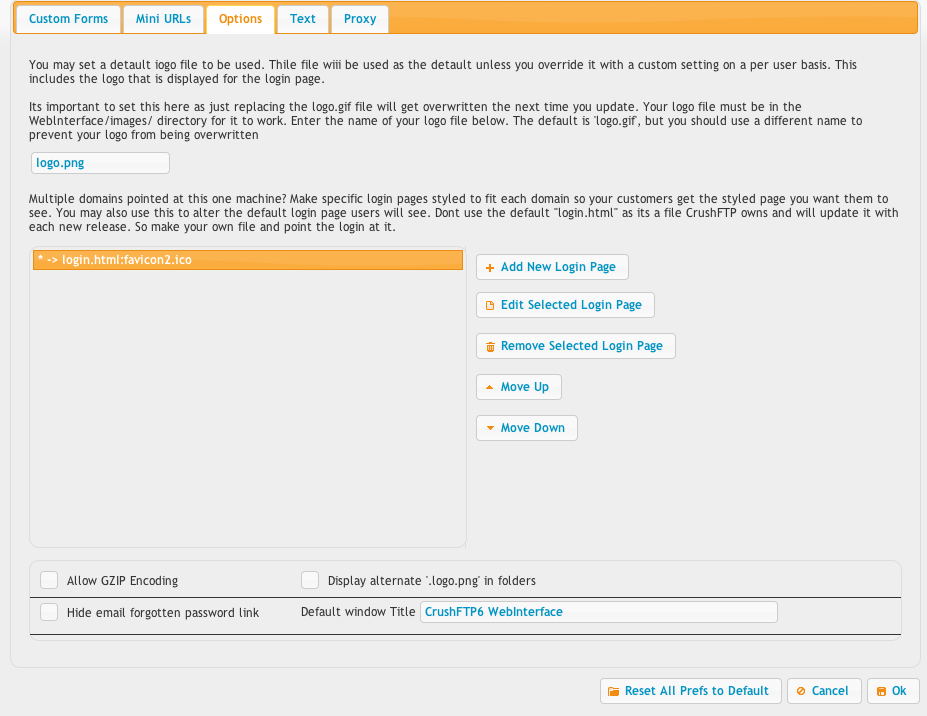
The options tab lets you set a global logo to be used for all login pages, and the HTML WebInterface. It also lets you specify rules for hosting multiple domains on a single server and having different custom login pages served each to its own domain that was used. There are a few other items as well such as GZIP which can cause issues with proxies and some older IE versions.

Add new attachment
List of attachments
| Kind | Attachment Name | Size | Version | Date Modified | Author | Change note |
|---|---|---|---|---|---|---|
png |
prefs_webinterface_form.png | 55.2 kB | 2 | 29-Dec-2020 05:25 | Ben Spink | |
png |
prefs_webinterface_miniurl.png | 56.6 kB | 2 | 29-Dec-2020 05:25 | Ben Spink | |
png |
prefs_webinterface_options.png | 76.7 kB | 2 | 29-Dec-2020 05:25 | Ben Spink | |
png |
prefs_webinterface_proxy.png | 53.1 kB | 2 | 29-Dec-2020 05:25 | Ben Spink | |
png |
prefs_webinterface_text.png | 46.7 kB | 2 | 29-Dec-2020 05:25 | Ben Spink |